
Salt Dough Baby Handprint Ornaments
This Post May Contain Affiliate Links. Please Read Our Disclosure Policy.
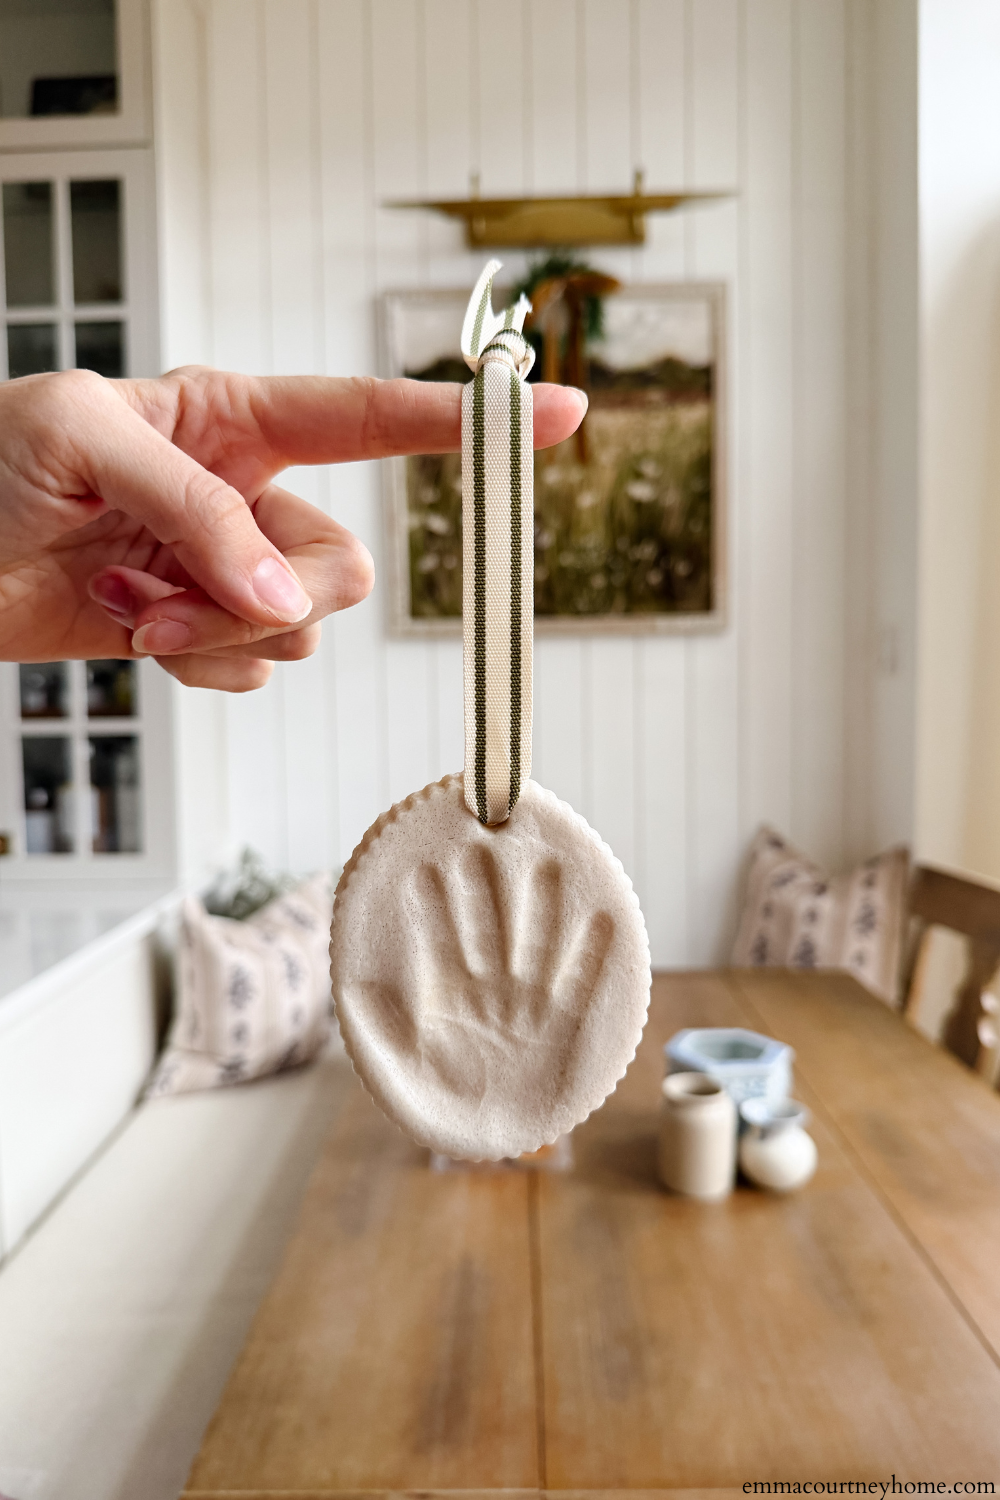
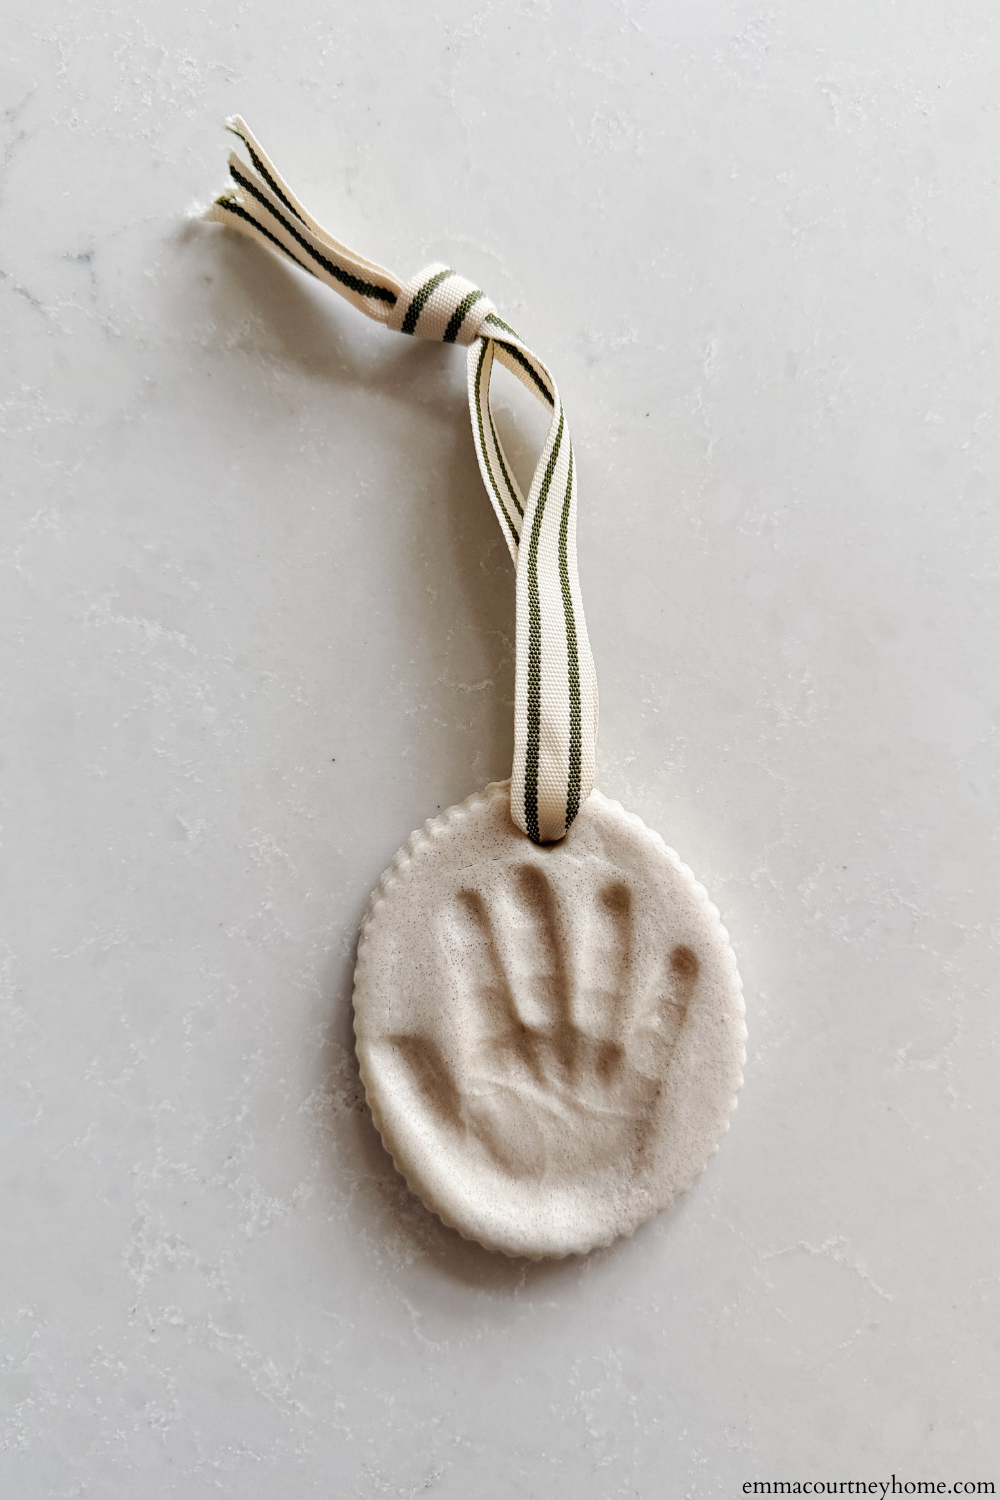
When my son was a newborn, I made these scalloped oval salt dough baby handprint ornaments, and they instantly became one of my favourite keepsakes. They are simple, meaningful, and such a lovely way to remember just how tiny those newborn hands really were.
The scalloped oval shape paired with a striped ribbon gave the final ornaments a charming vintage look that reminds me of Little Women Christmas vibes. They feel timeless and sentimental, and now we display ours year-round.
Estimated reading time: 6 minutes

Why I Chose Salt Dough Over Air Dry Clay
Before making these, I tested air-dry clay the year before, with my nephew, and found it challenging to press delicate baby hands into. The clay felt firmer and captured little detail. The salt dough was noticeably softer, which meant every tiny line and curve of his hand showed up beautifully.
If you want to capture those precious newborn details, salt dough is an easy and forgiving option that gives a much clearer impression.
Why I Love These Salt Dough Baby Handprint Ornaments
- A sweet baby keepsake ornament that captures a moment in time
- Softer than air-dry clay, which helps show the fine details of newborn hands
- Budget-friendly and made from pantry staples
- A cozy afternoon project that is easy and relaxing
- The scalloped edges make them look extra special
- Leaving them natural gives an organic, timeless look
- You can paint them, too, if you prefer a more decorative finish
- Adding a small date sticker on the back makes them feel even more meaningful
If you love creating keepsake ornament ideas or simple baby craft projects, these salt-dough baby handprint ornaments are such a beautiful tradition to start.

Ingredients for Salt Dough
This classic salt dough ornament recipe is the one I used:
- 2 cups all-purpose flour
- 1 cup salt
- ¾ cup water (add more if needed)
- Cookie Cutter (I gently bent this to be an oval shape)
- Mod Podge
- Ribbon
- Straw (To make the hole)

How to Make Salt Dough Baby Handprint Ornaments
- Preheat your oven to 200°F (93°C).
- Whisk together the flour and salt in a mixing bowl.
- Slowly add the water until the dough comes together, soft and just moist.
- Knead on a lightly floured surface until smooth. I found using the stand mixer was great for this.

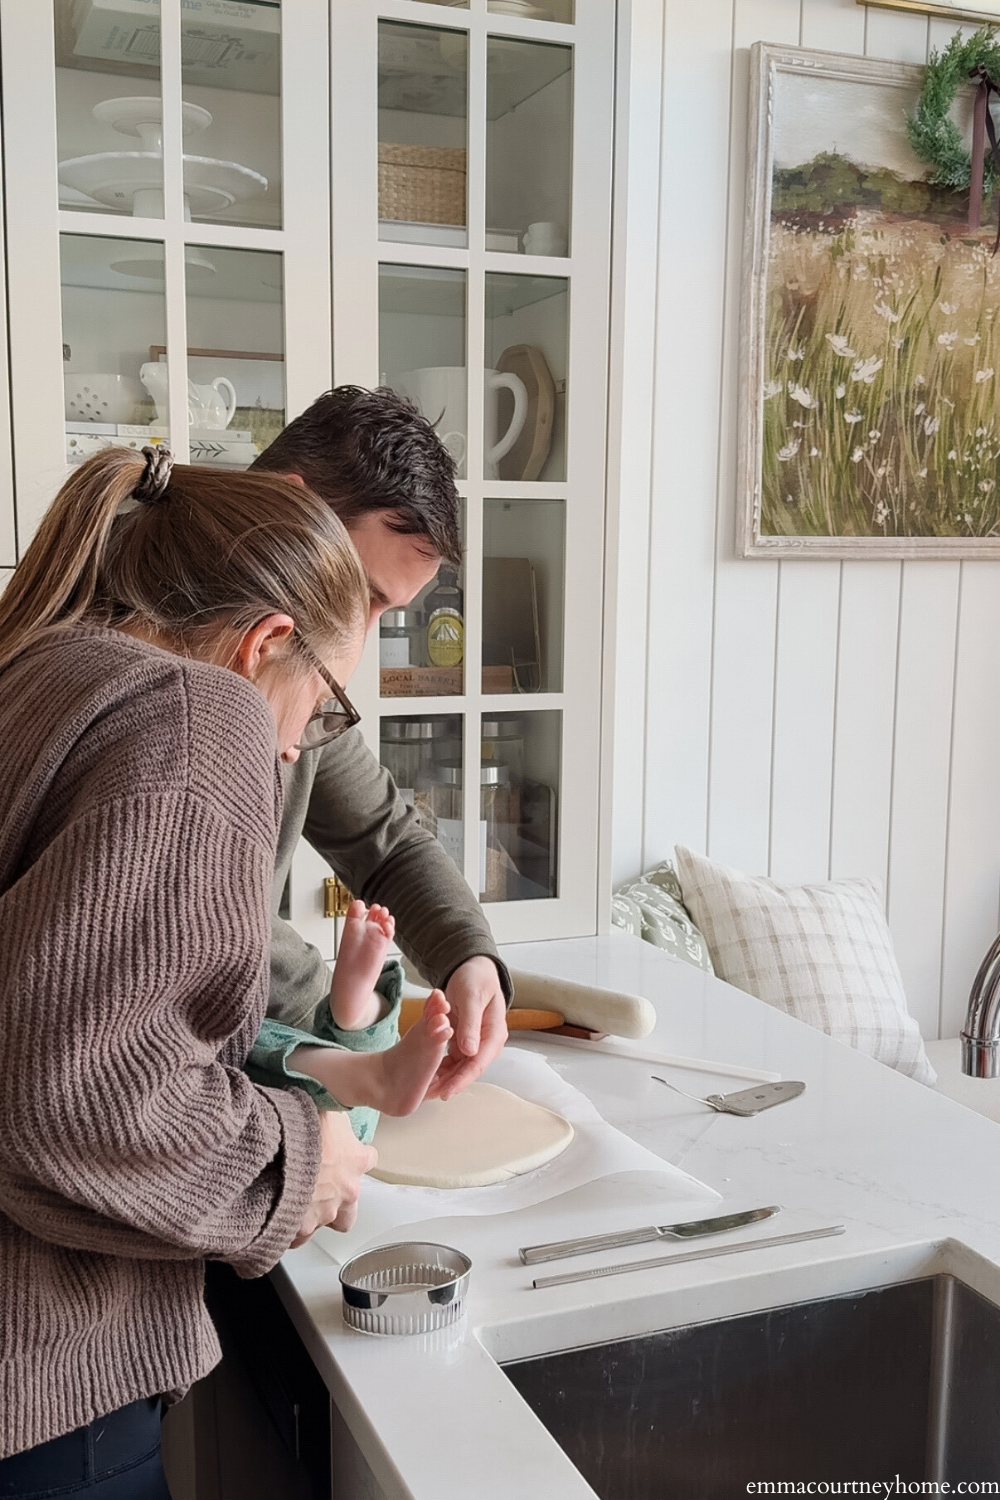
- Roll the dough to about ¼ to ⅓ inch thick.

- Gently press your baby’s hand into the dough to create the handprint.
- Use a scalloped oval cookie cutter or trace the shape by hand.
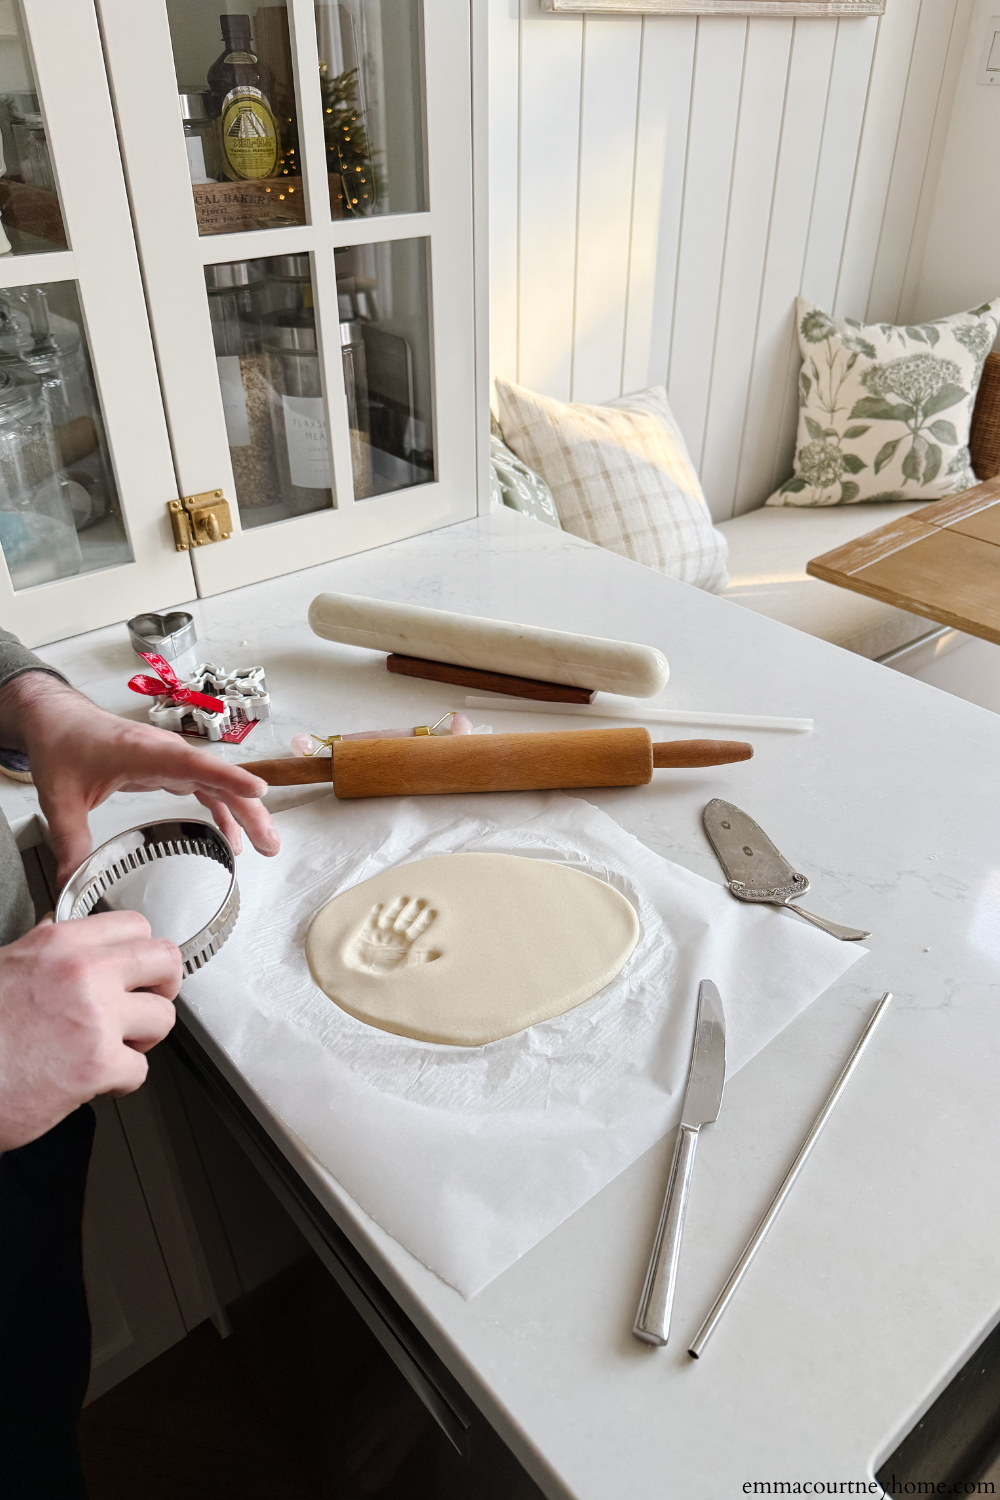

- Make a small hole at the top using a straw so the ornament can hang.
- Place on a parchment-lined baking sheet and bake for 1 to 2 hours, or until completely dry. Baking time can vary based on thickness.
- Allow the ornament to cool fully.
- Seal both sides with Mod Podge for a durable finish.
- Tie a ribbon through the hole. I used a striped ribbon for a sweet, nostalgic look.
- Add a little sticker to the back with the date. I wrote Handmade by Owen 2024, and it made the ornament feel so personal.
Tips for Making the Best Salt Dough Baby Handprint Ornaments
- Knead the dough well so the surface is smooth, and the handprint is clear
- Make sure the dough is rolled evenly so it dries without cracking
- If the dough feels too dry, add a tiny splash of water. If it feels sticky, add a sprinkle of flour
- Fully dry the ornaments before sealing so they stay strong over time
- Leave them natural for an organic, soft look or paint them once dry if you prefer a pop of colour
- Store your homemade baby keepsake ornament in a dry place when not on display
Why These Make a Meaningful Baby Keepsake Ornament
There is something so special about creating a keepsake ornament that features your baby’s real handprint. You can feel every little line and curve. It is a moment frozen in time.
Each year, when I bring out our salt-dough baby handprint ornaments, I am reminded of those early days with my son. It is such a sweet tradition, and I am grateful I took the time to do it.
If you are looking for easy salt-dough ornament ideas or want to create a homemade baby keepsake ornament that will last, I highly recommend making these scalloped oval handprint ornaments. They are simple, beautiful, and full of heart.


