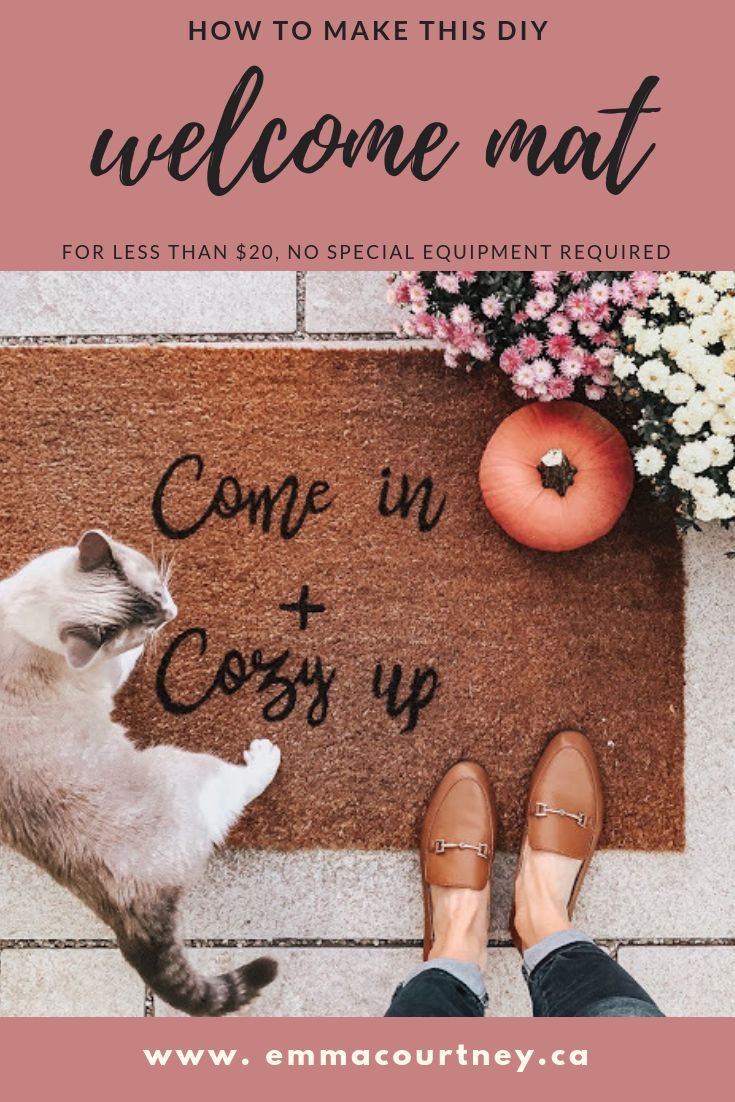
DIY: Fall Welcome Mat
This Post May Contain Affiliate Links. Please Read Our Disclosure Policy.
I have been planning this DIY for ages, and I finally had the chance to do it and I am so obsessed!
I fell in love with the cute Fall welcome mat trend last year, but the price tag to buy one and have it shipped to Canada was pretty high. If you aren’t into trying a DIY definitely check out etsy if not keep trying!
This welcome mat I managed to make for $15!!
I should disclose I already had the supplies and just needed to buy the mat. However, it still comes in a lot cheaper than many of the alternatives that you buy already finished.
If you grab the mat from Ikea, and go to amazon or even Michael‘s to buy the paint, I am sure you can get a coupon for 40% off from their website to make it even cheaper!
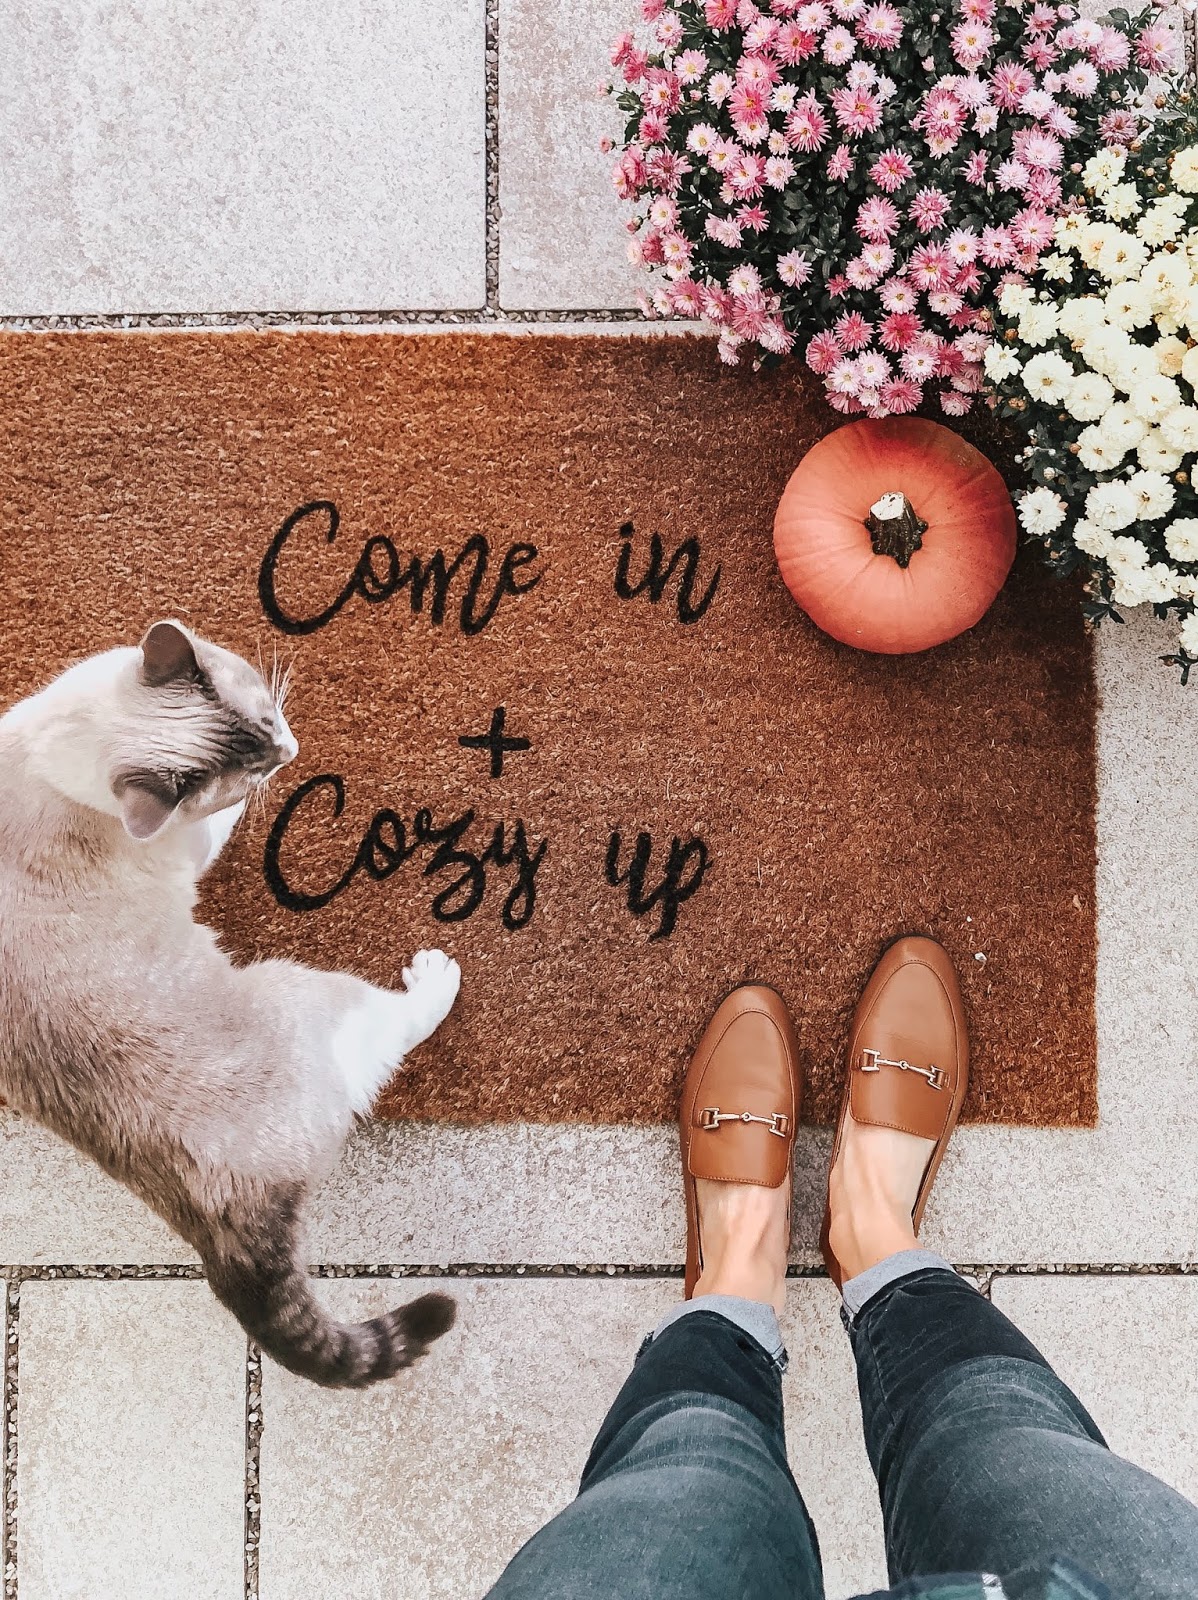
Initially I was worried that it would not turn out well and honestly, it turned out a million times better than expected! It looks like I bought it in a store! So happy I took the time to make this.
Other cute phrases:
Come in + Cozy up
Hey there Pumpkin
Hello Fall
Thankful
Blessed
Welcome Fall
Happy Fall
Gather
What you need:
1 Coco Door Mat, I bought Ikea Trampa, currently C$13.99
1 Black Paint, I recommend something like this
1 Sponge Paint Brush
1 Little Fine tip brush
A Pair of little scissors or an X-Acto Knife
Print Out of Words
Duct Tape
Template:
The font I used for this is Brushygo by Alit Design on dafont.com
I downloaded the font, and put the text size to 480 using Word.
You can download the document I used to make this here.
How to do it:
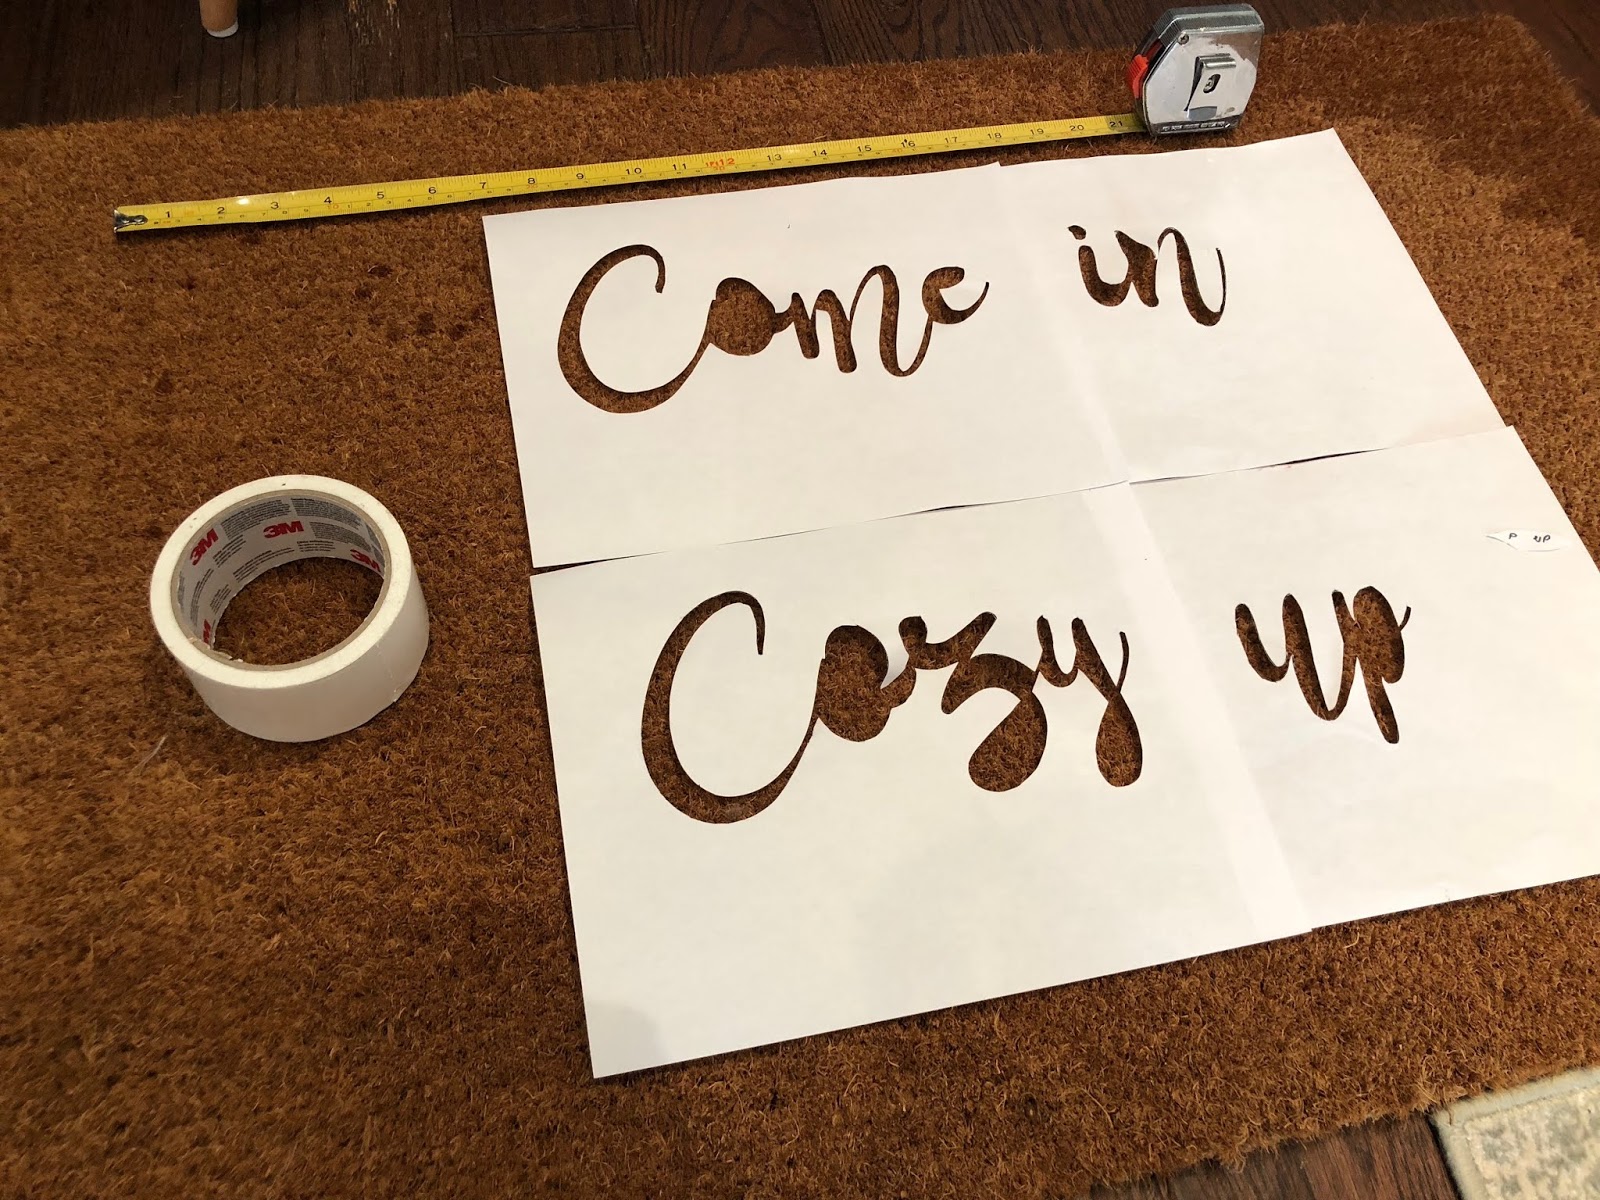
First, I started printing the words out, I did one word per piece of print paper.
When cutting the template out, you want this to be like a stencil, do the black words need to be cut out, leaving only white.
This is a task that requires patience and is the worst step, but I promise it is worth it!
Once you have the paper stencil ready, line it up on the mat.
When it is perfect, use duct tape to tape it down so it doesn’t move!
(I added the + after, I thought it might be easier to make sure the paper was lined up with the mat so it was straight!)
If there are the insides of letters left, like the e, o etc., tape those pieces on with a tiny piece of tape in the backs (make a little tiny tape loop). See below for details. If any pieces of the template need extra sticking, add extra tape behind them (again in a little tape loop).

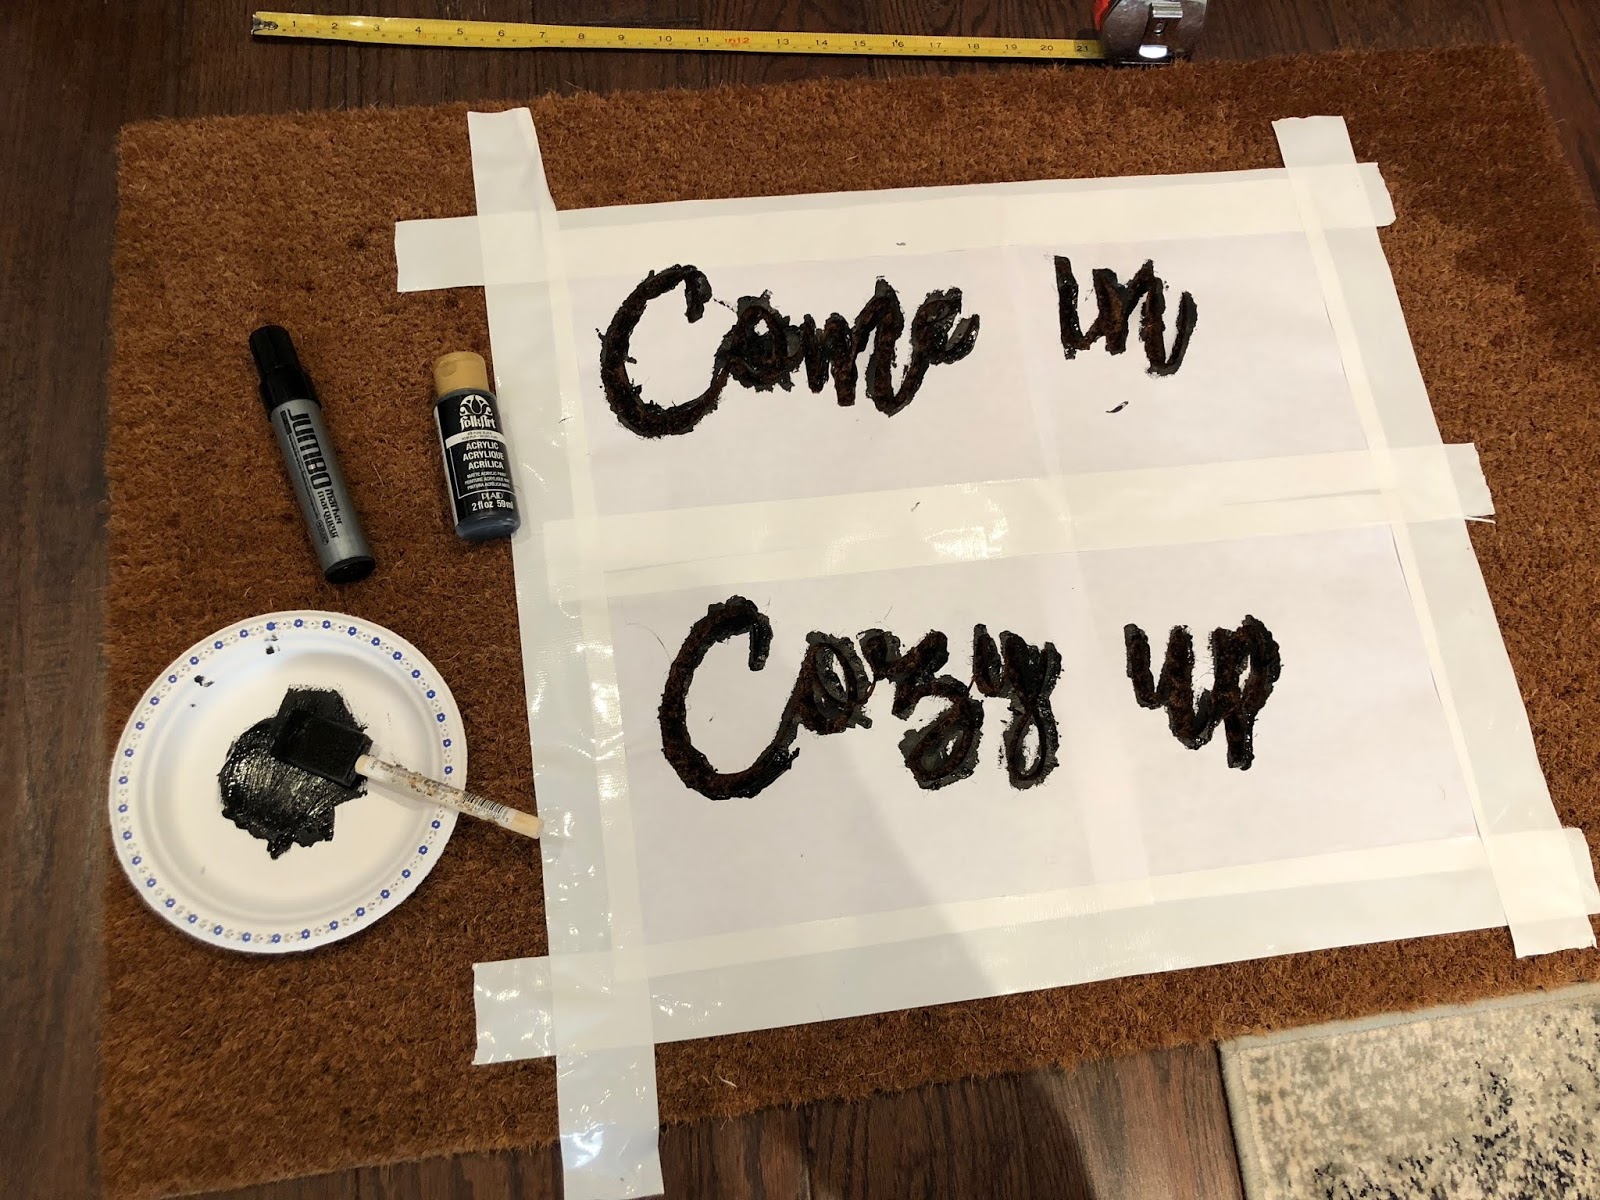
When it is all lined up perfect, take a plate (I used a paper one), and put the black paint on it. Then, using the sponge brush, dab the paint onto the mat/stencil. Make sure that pieces aren’t lifting up at all, ruining the text. I found I needed to go over it at least twice.
Let it dry with the stencil still on. When it is dry, gently peel away a corner and peek under to see how it looks. Mine was not perfect at this point. I went back with a little tiny paint brush, and did touch ups and made the text darker. Initially, I planned on using a sharpie for touch ups, but paint was much better!
Keep the paint in case you need to do any touch ups! I just made this, so I am not sure how long it will stay perfect for, but all mats like this need touch ups regardless, as the paint fades with wear.

If you make your own welcome mat, please please tag me on instagram or send me a photo by email!
I would love to see how they turn out!