
How to Make a Pleated Fabric Lampshade (Easy DIY Tutorial)
This Post May Contain Affiliate Links. Please Read Our Disclosure Policy.
DIY pleated lampshade tutorial using fabric, hot glue, and an existing lampshade. This beginner-friendly project transforms a plain lampshade into a custom, designer-style pleated lampshade using basic tools and supplies. No sewing machine required.
Pleated lampshades are having a major moment, and for good reason. They instantly add charm and a high-end look to a room. The best part is that you can make your own pleated lampshade at home using an existing shade, fabric, and a hot glue gun.
Estimated reading time: 7 minutes
In this step-by-step tutorial, I will show you exactly how to transform a basic lampshade into a beautiful, custom-pleated lampshade using fabric. This method works especially well for tapered lampshades and is perfect for creating a polished, custom look on a budget. Whether you are updating a thrifted lamp or customizing a new one, this DIY pleated lampshade is easier than it looks and makes a big visual impact.

Why Make a Pleated Lampshade?
A pleated lampshade adds:
- Visual texture
- Soft architectural detail
- Custom pattern and colour
- A high-end, boutique look
And the best part? You can make one yourself using an existing lampshade, fabric, and hot glue, no sewing required.

Supplies You’ll Need
- Existing lampshade (tapered or straight)
- Fabric (patterned or solid)
- Hot glue gun + glue sticks
- Fabric scissors or rotary cutter
- Measuring tape
- Iron
- Ironing board
*Many of these items can be found at a thrift store!
Step-by-Step: DIY Pleated Lampshade Tutorial
Step 1: Measure Your Lampshade
Measure the height of your lampshade and add 1 inch.
This extra inch allows for clean top and bottom edges when attaching the trim later.

Step 2: Cut Fabric Strips
Cut the fabric into 3-inch-wide vertical strips.
Each strip should be the full height of the lampshade (your measured height + 1 inch)

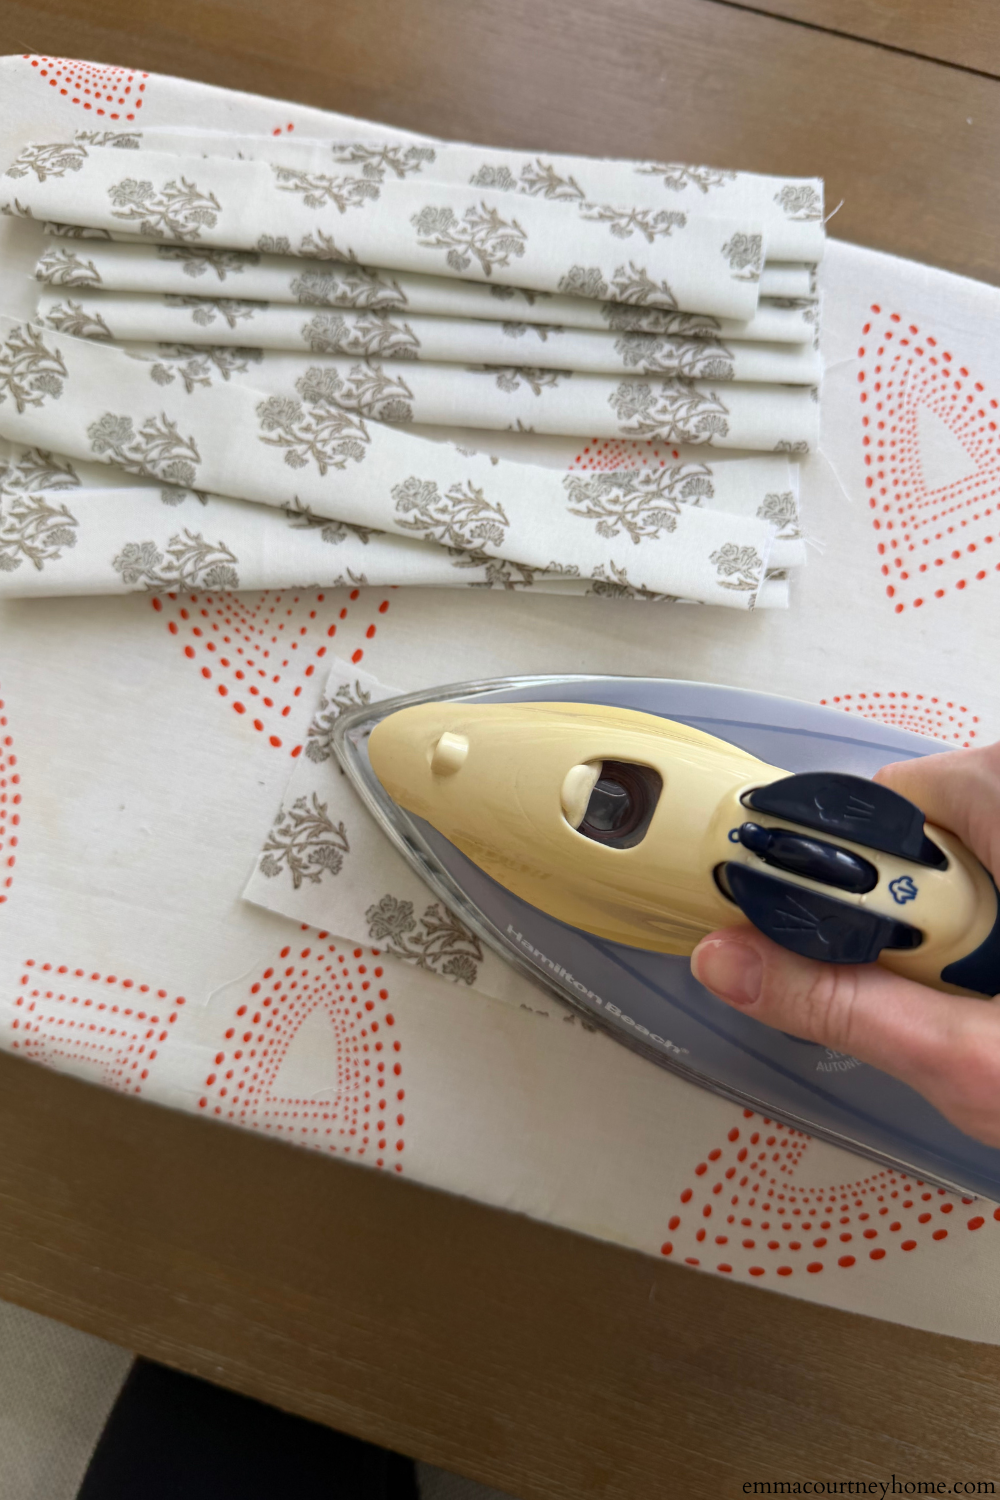
Step 3: Fold and Iron the Pleats
Fold each strip in half lengthwise and press with an iron.
This creates clean, structured pleats and makes placement much easier.
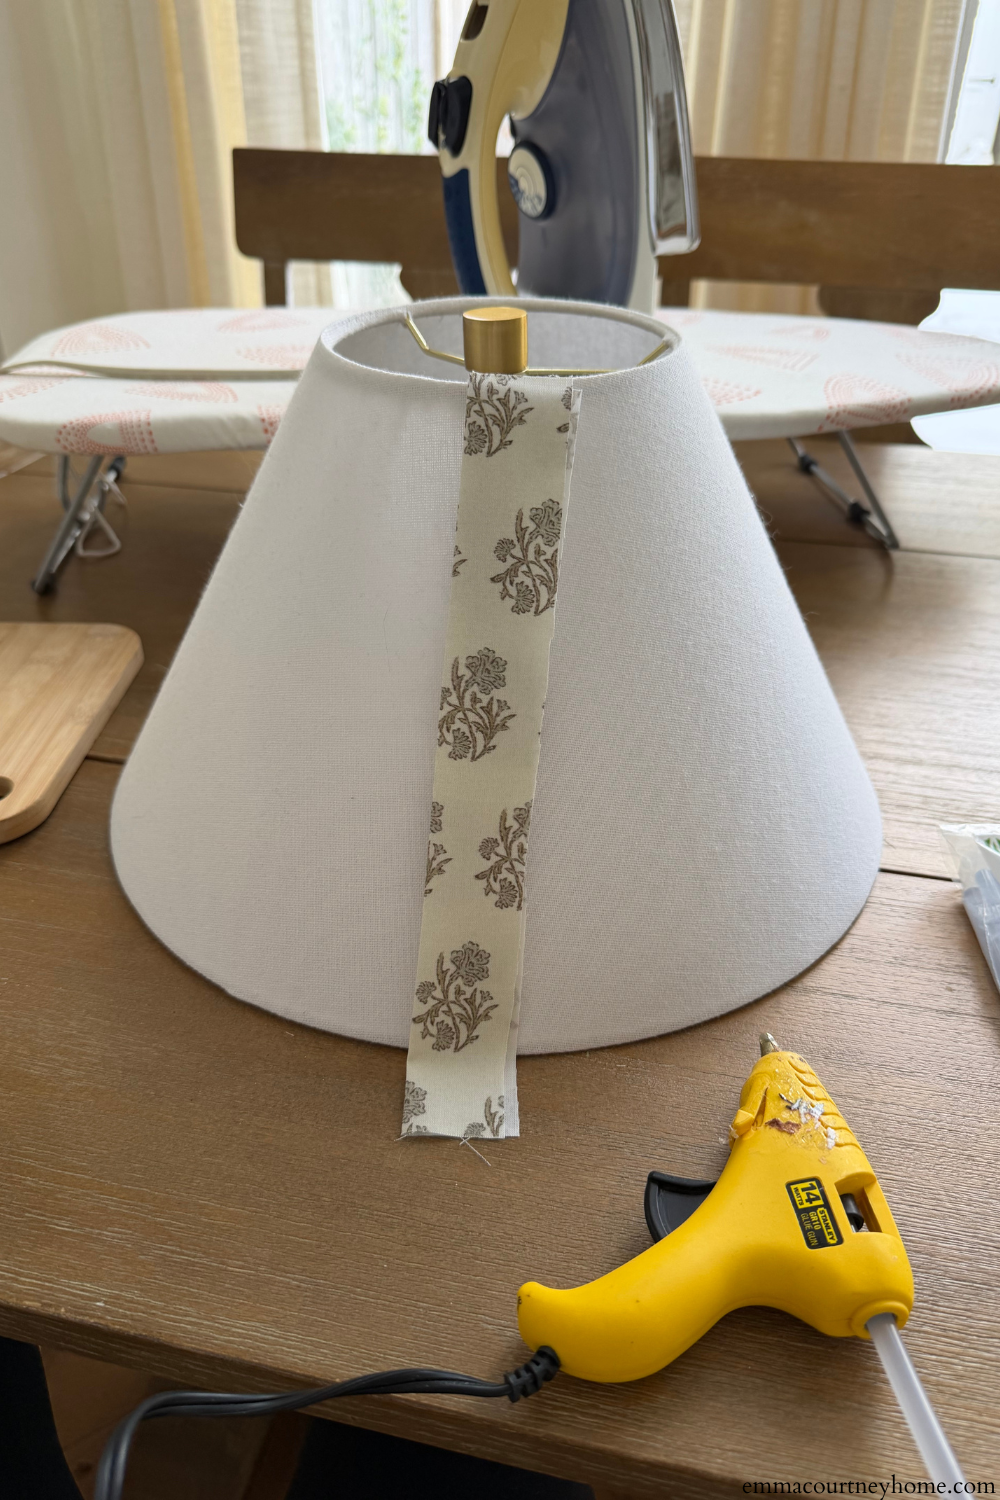
Step 4: Glue the Pleats to the Lampshade
Using hot glue, begin attaching the folded strips vertically to the lampshade.
Important placement tips:
- Keep strips running straight from top to bottom.
- Do not angle the strips.
- Align the folded edge outward.
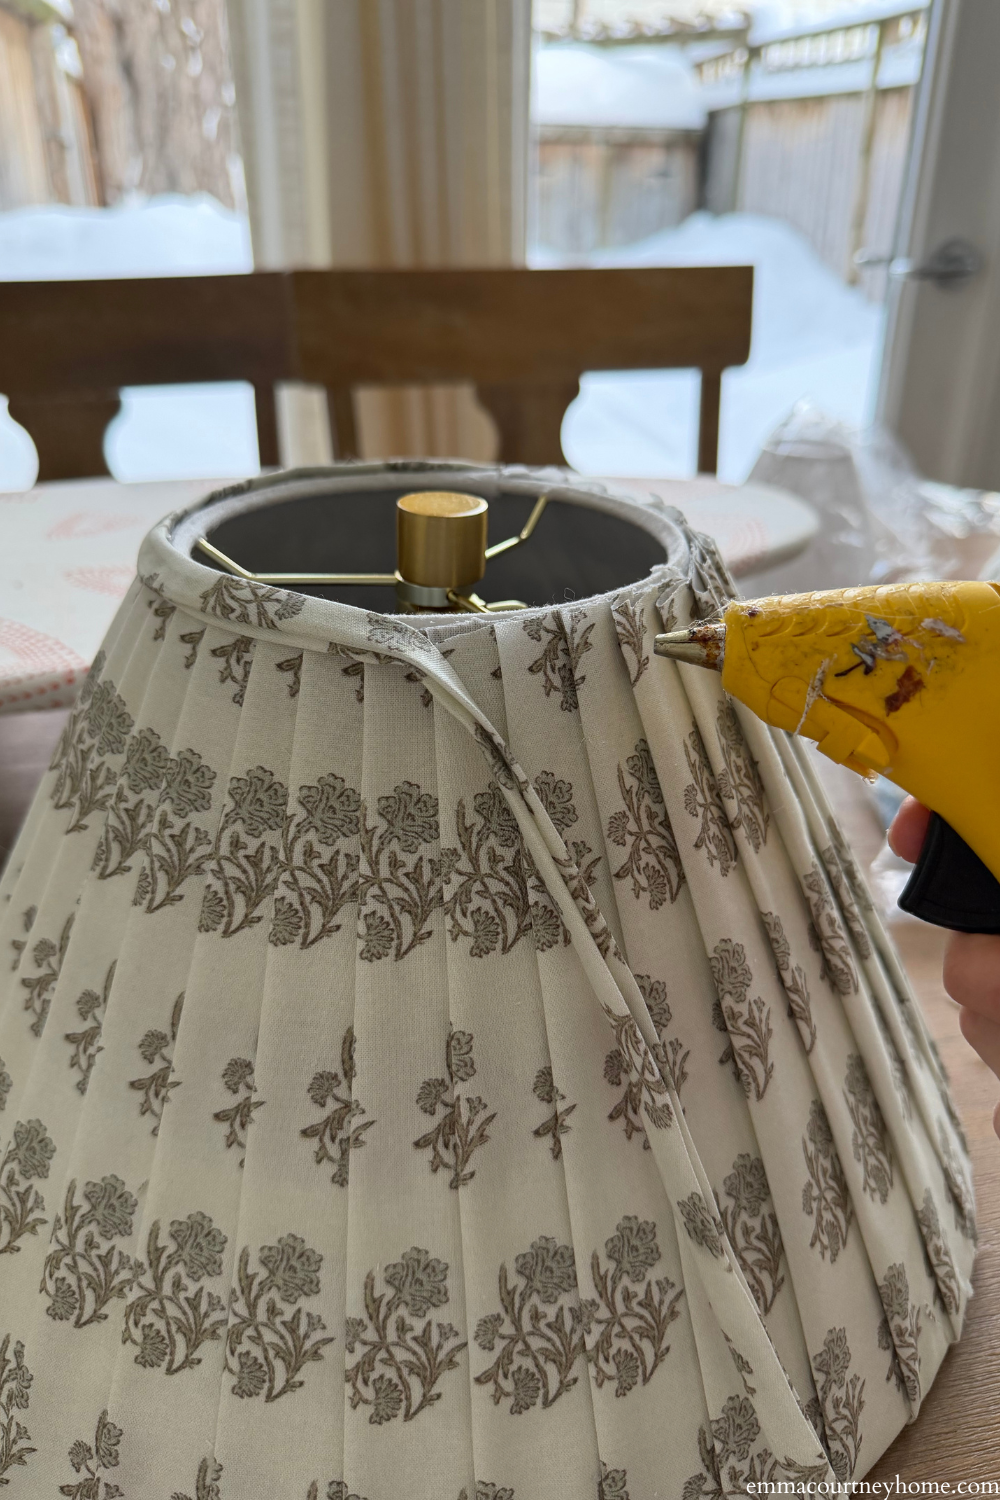
Because a tapered lampshade is wider at the bottom than at the top:
- The spacing between pleats will be tighter at the top.
- The spacing will be wider at the bottom.
This is completely normal and creates the correct pleated shape.

Patterned Fabric Tip (Important)
If you’re using patterned fabric, alignment matters.
Even slight misalignment makes the pleats look crooked and uneven.
Tips for patterned fabric:
- Keep pattern orientation consistent.
- Check it is lined up before gluing.
- Step back and visually assess placement.
If the pattern doesn’t line up, it will look off — I had to redo my second lampshade because of this. It’s worth taking your time here. Not to say mine is perfect – using a block print pattern is challenging!

Step 5: Create the Bias Trim
Once all pleats are attached, it’s time to finish the top and bottom edges.
Cut a long, 1-inch-wide fabric strip on the bias (diagonal to the fabric’s grain). This allows the trim to curve smoothly around the lampshade.

Make DIY Bias Tape:
- Fold the strip in half lengthwise → iron.
- Open it
- Fold both raw edges inward to the center crease → iron.
- Fold in half again → iron.
You now have clean, finished bias trim.

Step 6: Attach the Trim
Using hot glue, attach the bias trim to:
- The top edge of the lampshade
- The bottom edge of the lampshade
This finishes the raw edges and gives the lampshade a polished, professional look.
Final Result
You now have a fully custom pleated fabric lampshade, made with:
- No sewing
- Minimal tools
- Budget-friendly materials
This DIY works beautifully for:
- Table lamps
- Floor lamps
- Nursery lamps
- Bedroom lamps
- Accent lighting

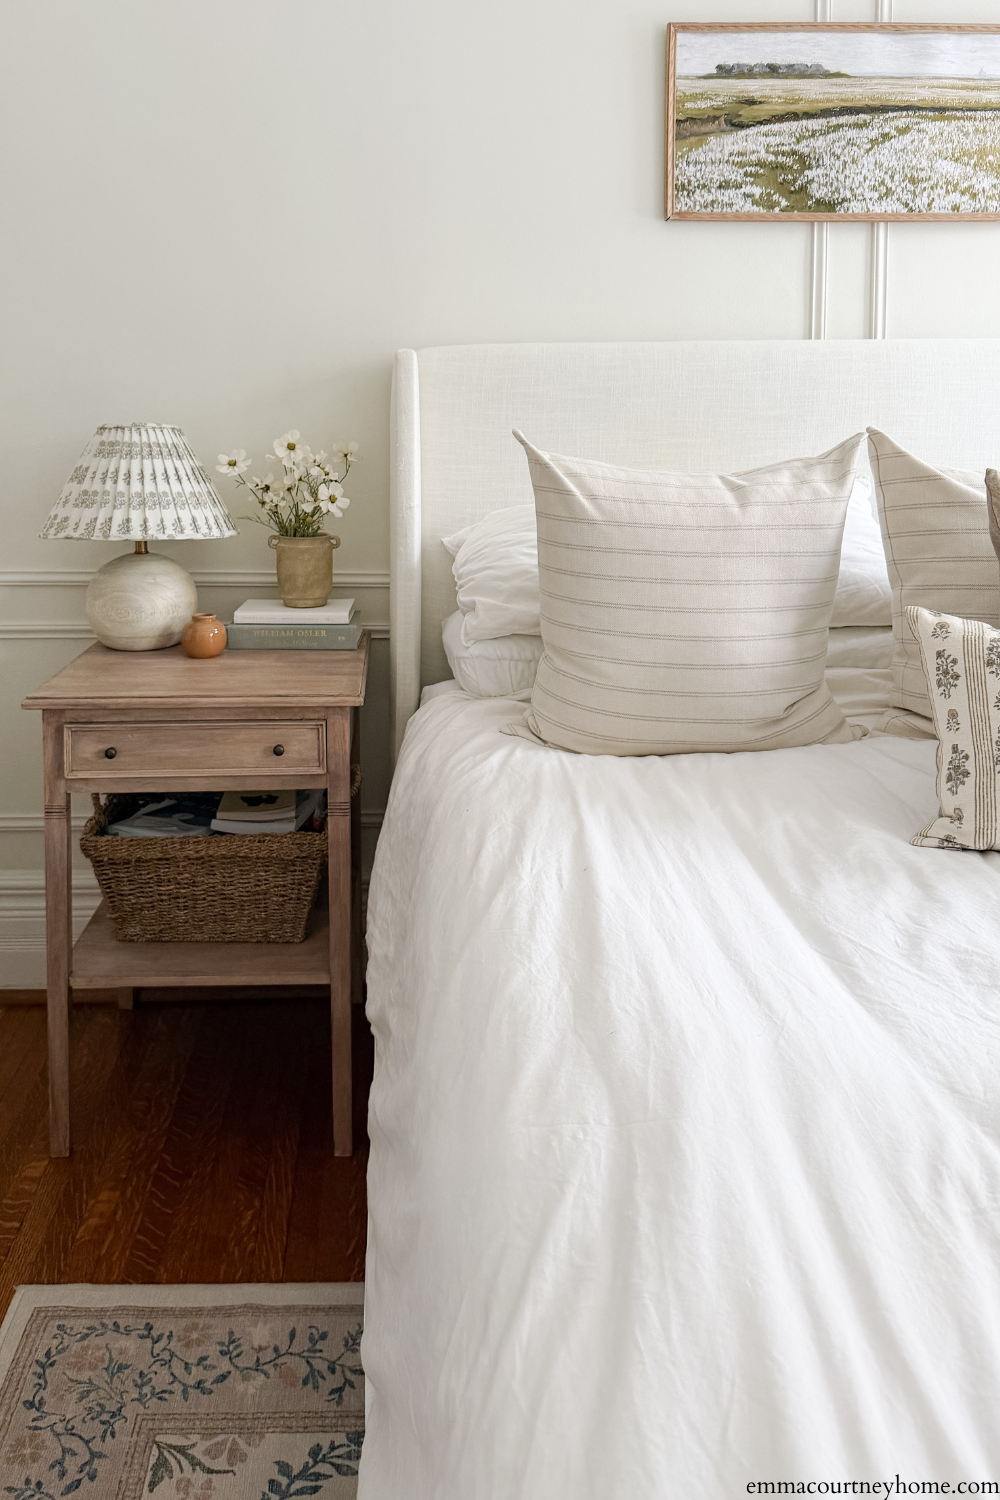
See how I used pleated lampshades in this project.
Pro Tips for Best Results
- Solid fabrics are easiest for beginners.
- Patterns are tricky, and you need to carefully align the pattern.
- Work slowly and evenly.
- Check vertical alignment constantly.

FAQs
Yes, but it works best on fabric-covered or neutral base shades. Tapered shades will naturally create wider spacing at the bottom.
No, this project is fully no-sew.
No, spot clean only.
Bias tape is highly recommended for a professional finish, especially on curved edges. If you don’t use it, the tape will not lie flat on the lampshade and will bow out in spots (spoken by someone who tried this before)
Cotton, linen blends, and lightweight upholstery fabrics work great.


