
Wood Bead Garland DIY
This Post May Contain Affiliate Links. Please Read Our Disclosure Policy.
A few weeks ago I made one of those cute wood bead garlands that are popping up all over home decor right now. If you have ever looked into buying one, they can be expensive, and I found especially in Canada, the shipping doubled the price!

These make a great decor item for you home, a nice gift or even housewarming gift.
Please note the following post features affiliate links.
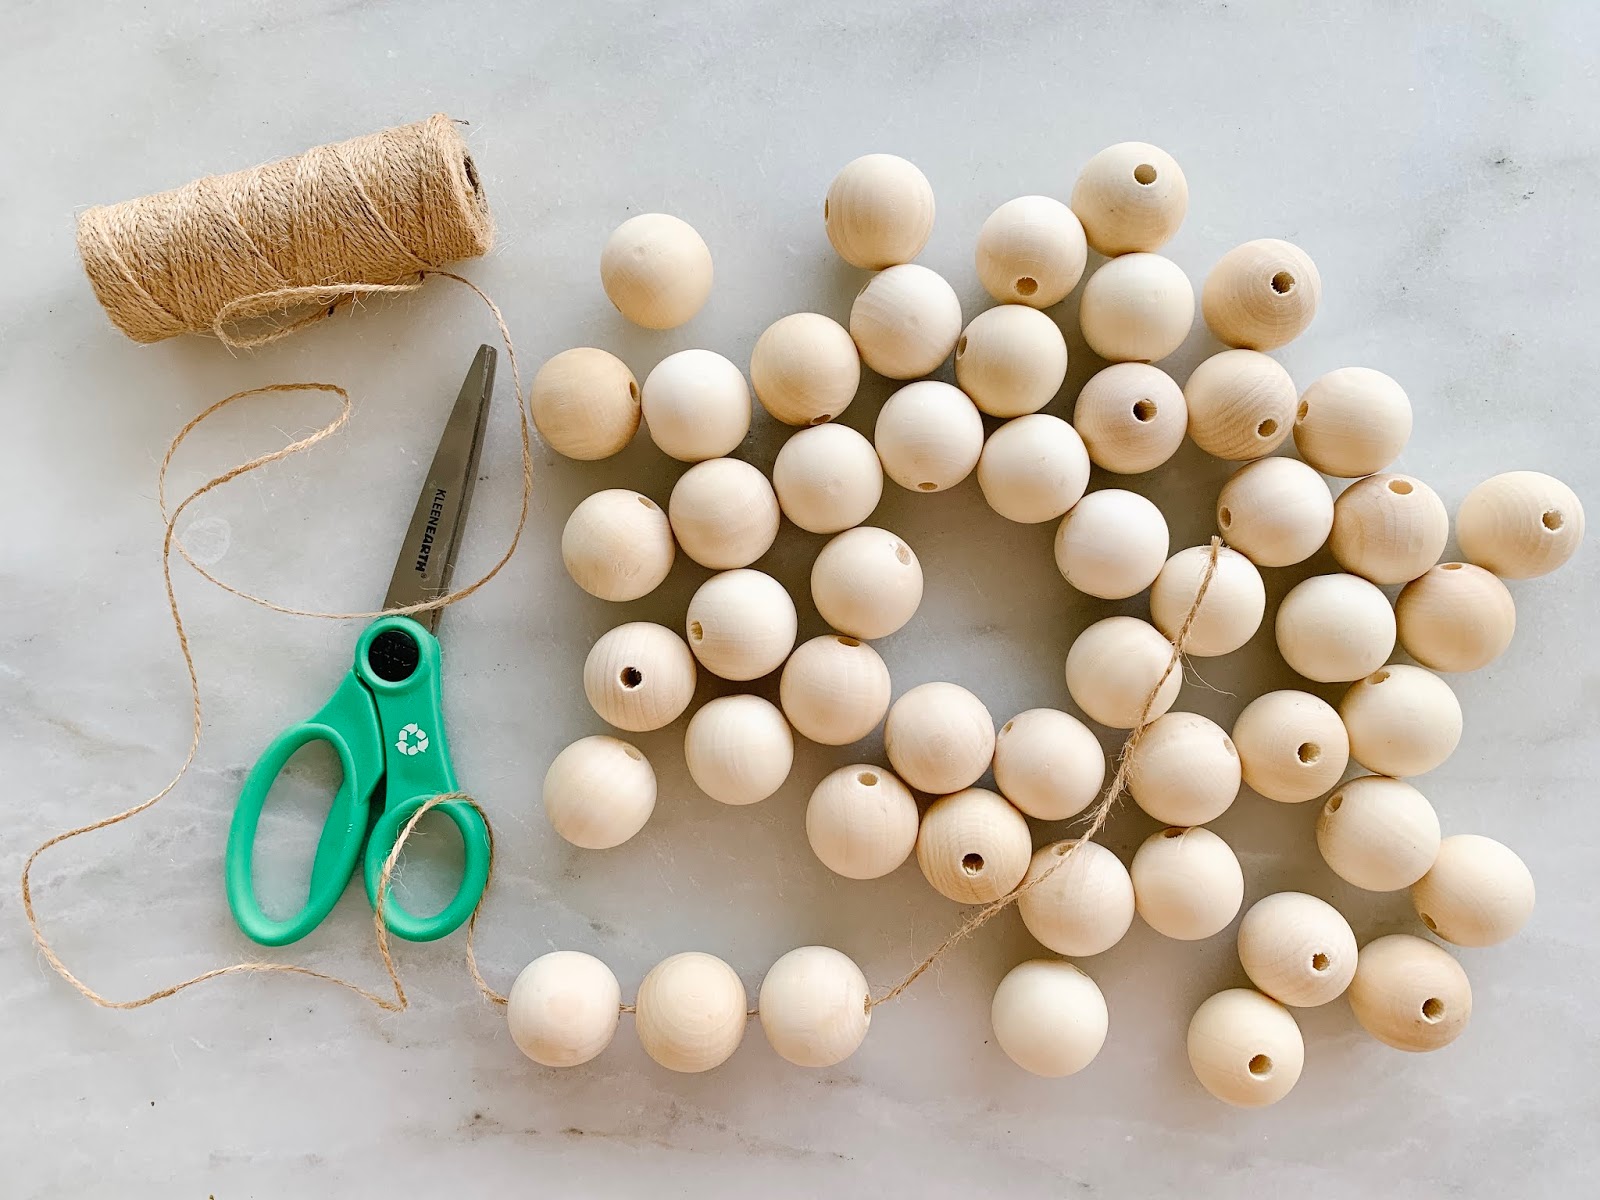
Items Needed:
– Wood Beads (1.2 Inch)
– Jute Twine
– Scissors
Items I Purchased:

I have made a few of these. Two times I used half of the beads, which is 25. This made the cost approximately C$15/strand. The first image of this post shows this version.
For this DIY I used all 50 beads that came in the package I purchased from the link above.
Step One:
Thread all of the beads onto the string.

Do not cut the string.
Leave the roll of string on the end of the string so you do not have to approximate the length it needs to be. If this sounds confusing, refer to the photo below.

Step Two:
The end tassels.
The best way to make these tassels is to find something the approximate length of the tassel you would like to make, and wrap the string around it.
I used my iPhone (for this DIY I used an iPhone case so I could take photos still!)
Look at the following photos to understand what I mean.


I wrapped the string around the iPhone 50 times.

Next, either slide the loop of string off of the phone, or cut the string loop at one end.
I find it easier to slide the loop off of my phone, then cut it.
Ensure you leave the roll of string attached. If you accidentally cut it – it is not the end of the world.

Once your string looks like the below picture, like a V, ensuring that the ends meet up equally.
Now, wrap around the string that is still attached to the roll approximately an inch and a half from the top of the V like the image below.
If you cut the string by accident, just wrap a new piece of string around the V.

Wrap the string around 20 times – see the image below.

Next, cut the string off of the roll but make sure you leave a lot excess. About 10 inches.

Tie a knot around the tassel like the image below.

Tie at least a few knots to ensure that it will not unravel.

Cut the excess string.

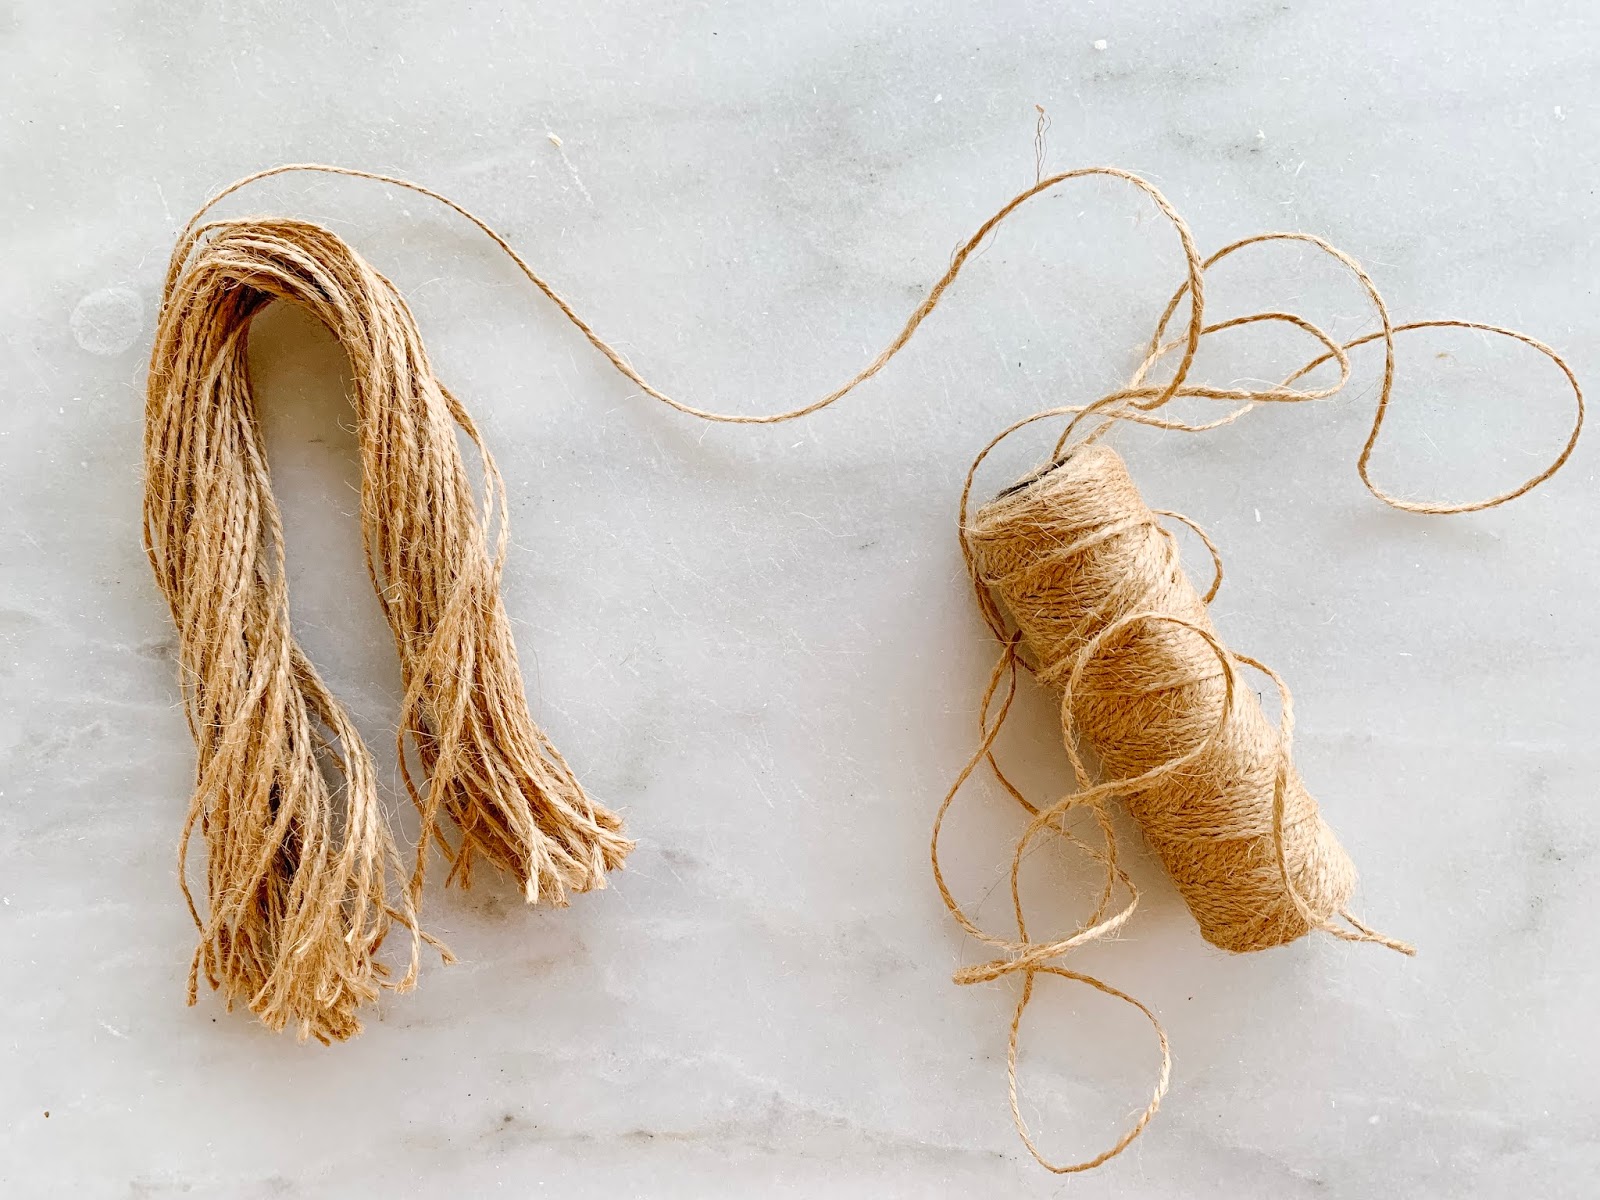
Due to the way the string is wrapped around the roll, it makes the string have a wave to it. The best thing to do is either soak it in water and allow it to dry, or try to iron it under a tea towel. Or you could just leave it as is!
Step Three:
Repeat! You need to make two of the tassels.
Step Four:
Attach the tassels to the string of beads.

The first end is easy.
Just loop the excess string from string of beads into the tassel and tie a few knots.

See the image below.

These knots will not show as it will hide in the end of the wood bead. Cut the excess string.

The last tassel is a little more difficult because you don’t want any slack in the string and you want the wood bead string to be tight.

Hold the string up so gravity forces all of the beads down, tight against the first tassel.
Follow the same tying step as before, but be sure that there is not excess string for the beads to move around. See image below if you are confused.

This is such a cute and easy DIY for your own home, or to give as a gift or housewarming gift.
It is also much cheaper than purchasing one that is ready made!
If you find any of these steps confusing, please refer to the images. If you are still confused, comment below or send me an email and I will get back to you as soon as I can!

Other Bead Garland ideas:
Painted Garland:
Paint the beads with chalkboard paint or flat paint. Once it is dry you could sand the beads a bit to give them a more antique/beaten up look before starting the DIY. I would not recommend painting the beads after completing the garland. If you want to do this, take the garland apart, paint the beads, then put it back together.
Loop Garland:
You could also make this into a looped garland with one tassel.
You would need to thread all of the beads onto a string. Then, take one end of the string, and thread it back into the last three beads. Add one tassel to the end.


Great knowledge, do anyone mind merely reference back to it wood rolling pin