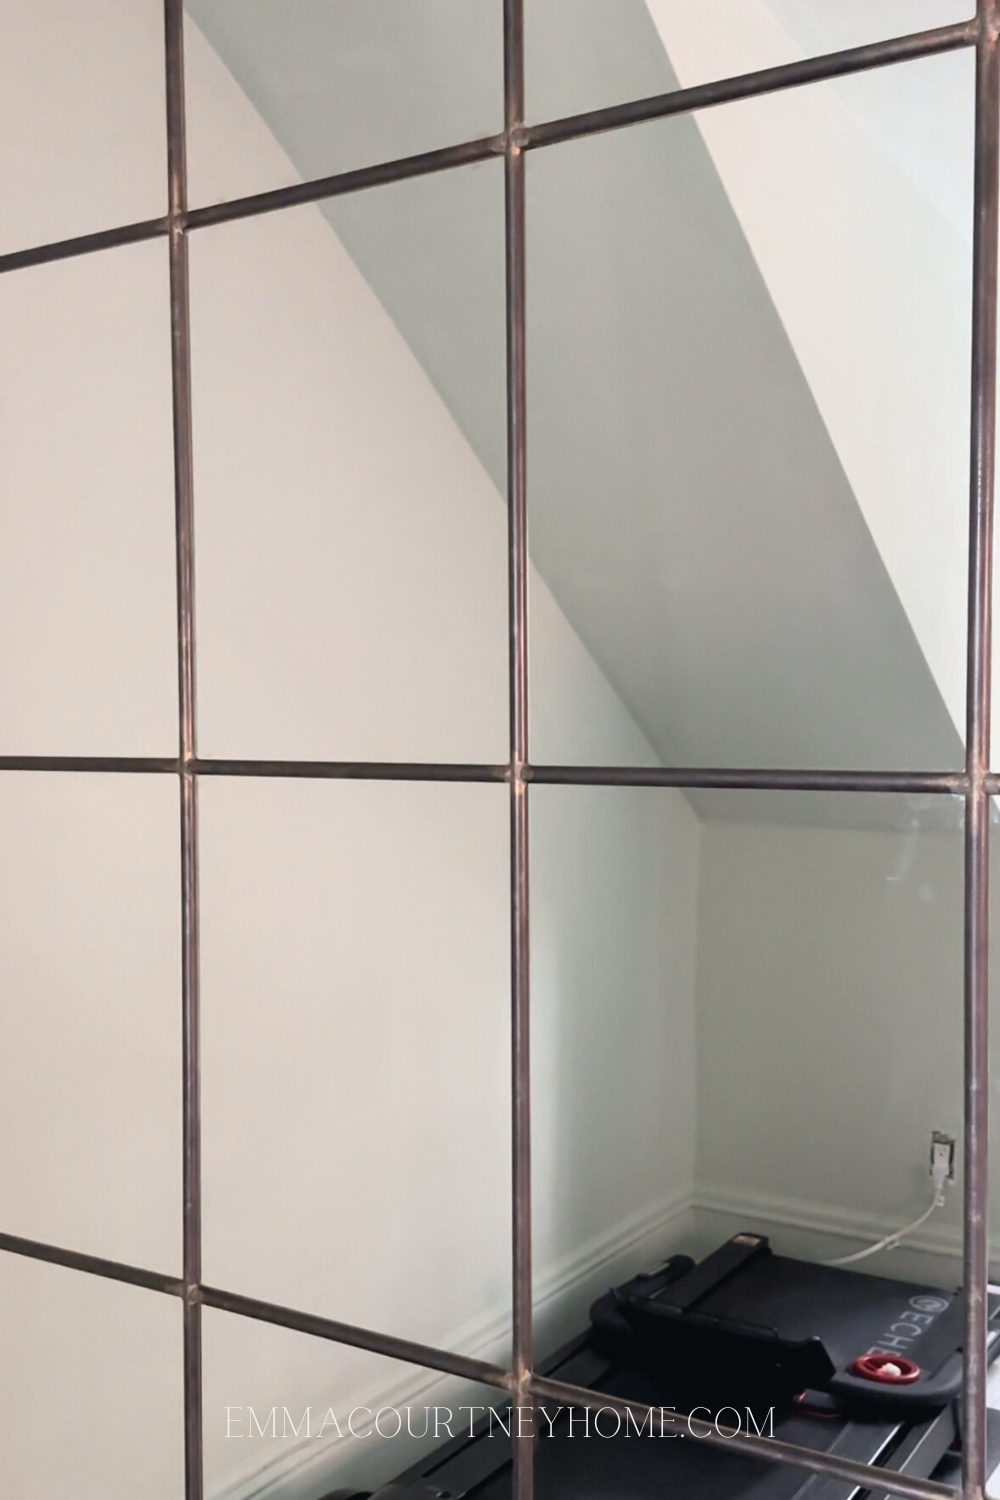
IKEA Mirror Hack: DIY Reclaimed Mirror
This Post May Contain Affiliate Links. Please Read Our Disclosure Policy.
Are you looking for a unique and affordable way to add some character to your home decor? Look no further than the IKEA mirror hack! With IKEA mirror tiles and some creativity, you can transform them into a stunning reclaimed window mirror that will elevate your space whether you use them in an entry, gym, or living space! There are endless possibilities for the IKEA mirror hack to show you how to create a unique piece for your home. We’ll cover everything from choosing the right materials to the step-by-step process of putting it all together.
Whether you’re a seasoned DIYer or just starting out, we’ve got you covered. So get ready to create a beautiful, reclaimed window mirror that will add a touch of rustic charm to any room in your home.
Estimated reading time: 9 minutes


Shop the Bonus Room
Many of the items in this space are thrifted or IKEA hacks, but some of the items you can buy below:
- Windowpane curtains
- Floral Throw Pillow
- Windowpane Throw Pillow
- Patterned Throw Pillow
- Rug
- Frame TV
- Gallery Wall
- Treadmill
- Metal Drinks Table
IKEA Mirror Tiles:
IKEA mirror tiles are compact square or rectangular mirrors without a frame around them that can quickly and affordably be mounted to the wall. Apart from their primary purpose of functioning as mirrors, you can also experiment with various decorative patterns and arrangements to customize the look and feel of your room. These tiles are usually sold in sets alongside adhesive strips or compatible hardware for quick installation. The versatility in their sizes and shapes empowers you to showcase your creativity by innovating patterns and arrangements that reflect your unique taste. Moreover, the budget-friendly price point of these mirror tiles has proven to be a popular choice for individuals who prefer affordable home decor projects without compromising quality.

Reclaimed/Industrial Mirror:
If you’re looking for a creative way to bring a vintage vibe into your home decor, consider Reclaimed/Industrial Mirrors made from windows. These mirrors are crafted by upcycling old windows from buildings, homes or factories. By giving these glass panes a thorough cleaning and treatment, they are then transformed into functional mirrors by adding a mirror backing. The frames of these mirrors often boast a rustic appearance, featuring distressed finishes and imperfections, which can add personality and charm to any space. With window frames of varying sizes and shapes, the style possibilities for these mirrors range from large floor-length mirrors to smaller wall-mounted ones. Opting for these unique mirrors is also environmentally friendly as they repurpose materials that might otherwise be thrown away.
Using IKEA Mirror Tiles to Make an Industrial Style Window Mirror:
The inspiration for this project came from the reclaimed/industrial mirrors, but these can be very expensive. It’s also not possible to get a mirror of this size into our Bonus Room where we have a small workout space!

Love the look of this TV bench? It’s an IKEA hack! Learn more here.
Materials:
- IKEA Mirrors (US link/Canada link)
- Half Moon Trim (US link/Canada link)
- Trim (US link/Canada link)
- Spray Paint (US link/Canada link)
- Ryobi Brad Nailer (US link/Canada link)
- Wood Filler (US link/Canada link)
- Caulking (US link/Canada link)
Instructions:
Step One:
Spray paint the wood that you will use for the frame of the industrial IKEA mirror hack. I used a hammered metal look spray paint to give the reclaimed metal look. I love how the half-moon trim looks after being painted, but I didn’t look the look of the border trim I picked – it didn’t really take on the hammered metal look as well.
It took a few coats of spray paint to thoroughly coat the trim.

Step Two:
Once the paint is dry, use a brad nailer to put one of the vertical and one of the horizontal border trim pieces on the wall. Ensure they are level. For this step, I would install these with only a few nails. These are just a guide to assist with installing mirrors to ensure everything is straight. After installing the mirrors, you will want to remove these and cut them to the perfect size with mitered corners.

Step Three:
Next, it is time to install the mirrors. Using the mounting strips that come with the mirrors, start in the corner where the two border pieces are touching. The border will help ensure the mirrors are installed straight. Work outwards from there.

Step Four:
Once you have all of the mirrors on the wall, it is time to remove the 2 border pieces. First, measure the length and width of the total mirrored wall area. Then cut the border pieces with mitred corners and install them around the mirrors using a brad nailer.

Step Five:
Cut and install the half-moon trim covering the joints of the mirrors. I recommend using an adhesive like No More Nails. If you want something more temporary, use double-sided tape. Then, start with the vertical pieces of trim.
Step Six:
Install the horizontal pieces of trim. Measure and cut the pieces one at a time in case there is any variation in size. Install them the same way as in step five.

Step Seven:
Use wood filler to merge the joints between the half-moon trim. Considering how these would be made with metal – likely welded together is a great idea. Try to keep this in mind when adding the wood filler. Also, it would be challenging to sand this, so try to keep it smooth.

Step Eight:
Use a combination of metal paint colours to cover the wood filler. I like to use a variety of silver and gold rub ‘n buff, plus a bit of spray paint. To use the spray paint, spray it into a plastic cup or something disposable and brush it on with a paintbrush. It will dry quickly, but combining all these gives it a reclaimed look, especially on the joints!

The IKEA mirror hack is a great way to create a unique and stylish reclaimed window mirror for your home. With just a few IKEA mirror tiles and creativity, you can transform an ordinary mirror into a statement piece that adds character and charm to any room. This DIY project is affordable and easy to do. It allows you to customize your mirror to fit your style and decor. Why not try the IKEA mirror hack and see what kind of beautiful and functional mirror you can create for your home?
Looking for more details on this space? Learn more about our budget-friendly bonus room project here.

FAQs
You have two options to attach your IKEA mirrors to the wall: adhesive strips or provided brackets from IKEA. To make sure that the mirror stays securely fixed to the wall, it is crucial that you carefully follow the instructions provided by the manufacturer.
Did you know that it’s possible to hang an IKEA mirror without screws securely? One convenient method is by using adhesive strips or mounting brackets. The most effortless option is to utilize adhesive strips, which work great for mirrors weighing less than 15 pounds.
IKEA offers many mirror options at a budget-friendly price, making it a great option for creating a mirror wall.
Project Video


